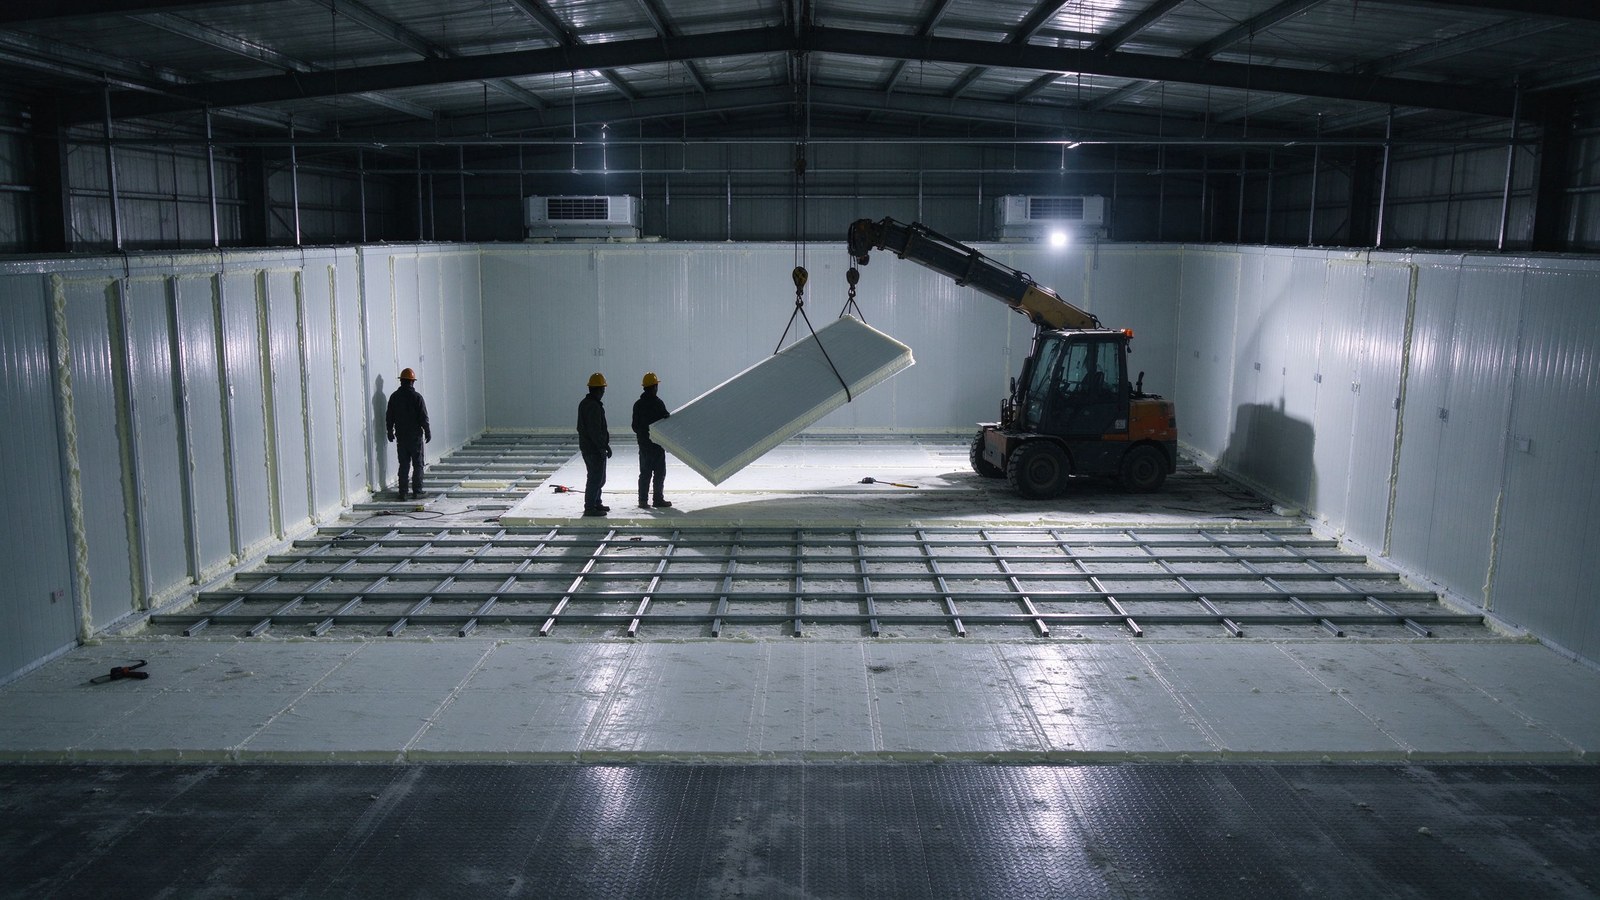
For owners new to cold storage projects, the first concern after budget is usually "how is a cold room actually built?" Taking a modular cold room from a blank site to a fully operational storage facility is not simply joining panels and connecting a machine. It requires coordination across structural, insulation, refrigeration and electrical disciplines; poor scheduling easily leads to delays or later heat leakage. This article explains the cold room construction process in seven stages.
1. Site Survey and Requirements Confirmation
Before construction, the engineering team measures the site dimensions, ceiling height, power supply capacity and goods-handling flow, and works with the owner to confirm stored products, design temperatures, daily throughput and future expansion. The output is a survey record that forms the basis for design.
Owners should provide the product list and inlet temperature, door-opening frequency, dock location, and whether a sorting area is needed. These directly determine panel thickness, unit capacity and air cooler layout.
2. Design and Quotation Confirmation
The design stage produces layout drawings, room cross-sections, unit selection calculations and an itemized quotation. Owners should check panel thickness and density, compressor brand and horsepower, air cooler models, door type and quantity, and electrical protection configuration. Sign and seal the confirmed design to avoid later verbal changes.
When unsure about selection, first use the online selection tool for an initial calculation based on volume and temperature, then compare it with the design. For cost composition, see how much a cold room costs.
3. Civil Works and Floor Treatment
Low-temperature rooms must have frost-heave protection. Common practice is to lay XPS or polyurethane insulation under the concrete floor and embed ventilation pipes or heating cables to prevent the underlying soil from freezing and lifting the floor. Light-load fresh-keeping rooms can place floor insulation directly on the existing ground.
This stage typically takes 7–15 days, including setting out, pouring, leveling and curing. Assembling panels before concrete is properly cured risks later floor cracking.
4. Room Body Assembly
After panels arrive, assemble in the order of floor, walls and ceiling. Wall panels are locked together with eccentric hooks and seams sealed with neutral silicone; corners are reinforced with aluminum profiles, and heating cables are embedded around door frames to prevent icing.
| Stage | Main Work | Typical Time |
|---|---|---|
| Site survey | Measurement, requirements, power check | 1–3 days |
| Design | Drawings, selection, sealed quotation | 3–7 days |
| Floor treatment | Insulation, pouring, curing | 7–15 days |
| Room assembly | Wall/ceiling panels, doors, sealing | 3–7 days |
| Units and piping | Outdoor unit placement, welding, evacuation | 5–10 days |
| Electrical commissioning | Wiring, sensors, trial run | 3–5 days |
| Final acceptance | Document handover, training | 1–2 days |
For panel thickness and density selection, see cold room panel thickness and density.
5. Refrigeration Unit Placement and Pipe Welding
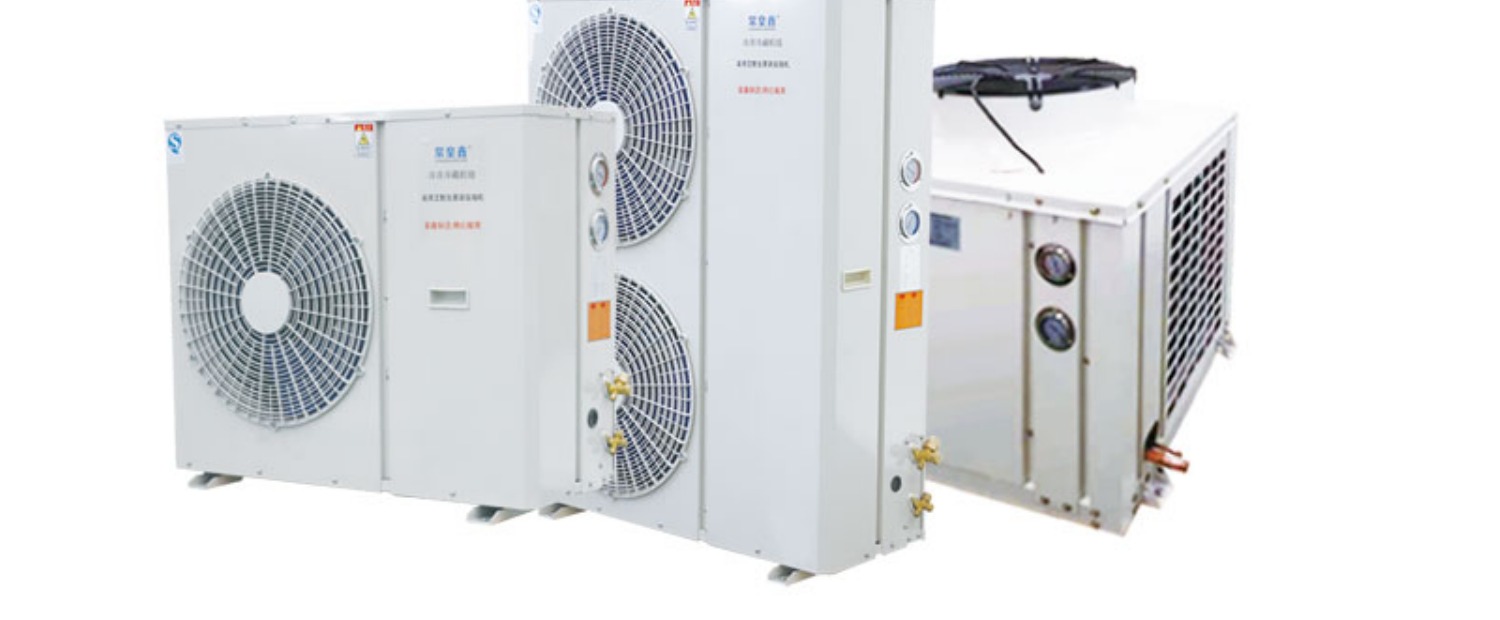
The outdoor unit is usually placed on a well-ventilated platform or rooftop and connected to the indoor air coolers via copper pipes. Copper pipes are welded under nitrogen purge to prevent internal oxide scale; after welding, nitrogen is held for 24 hours to confirm no leaks before evacuation.
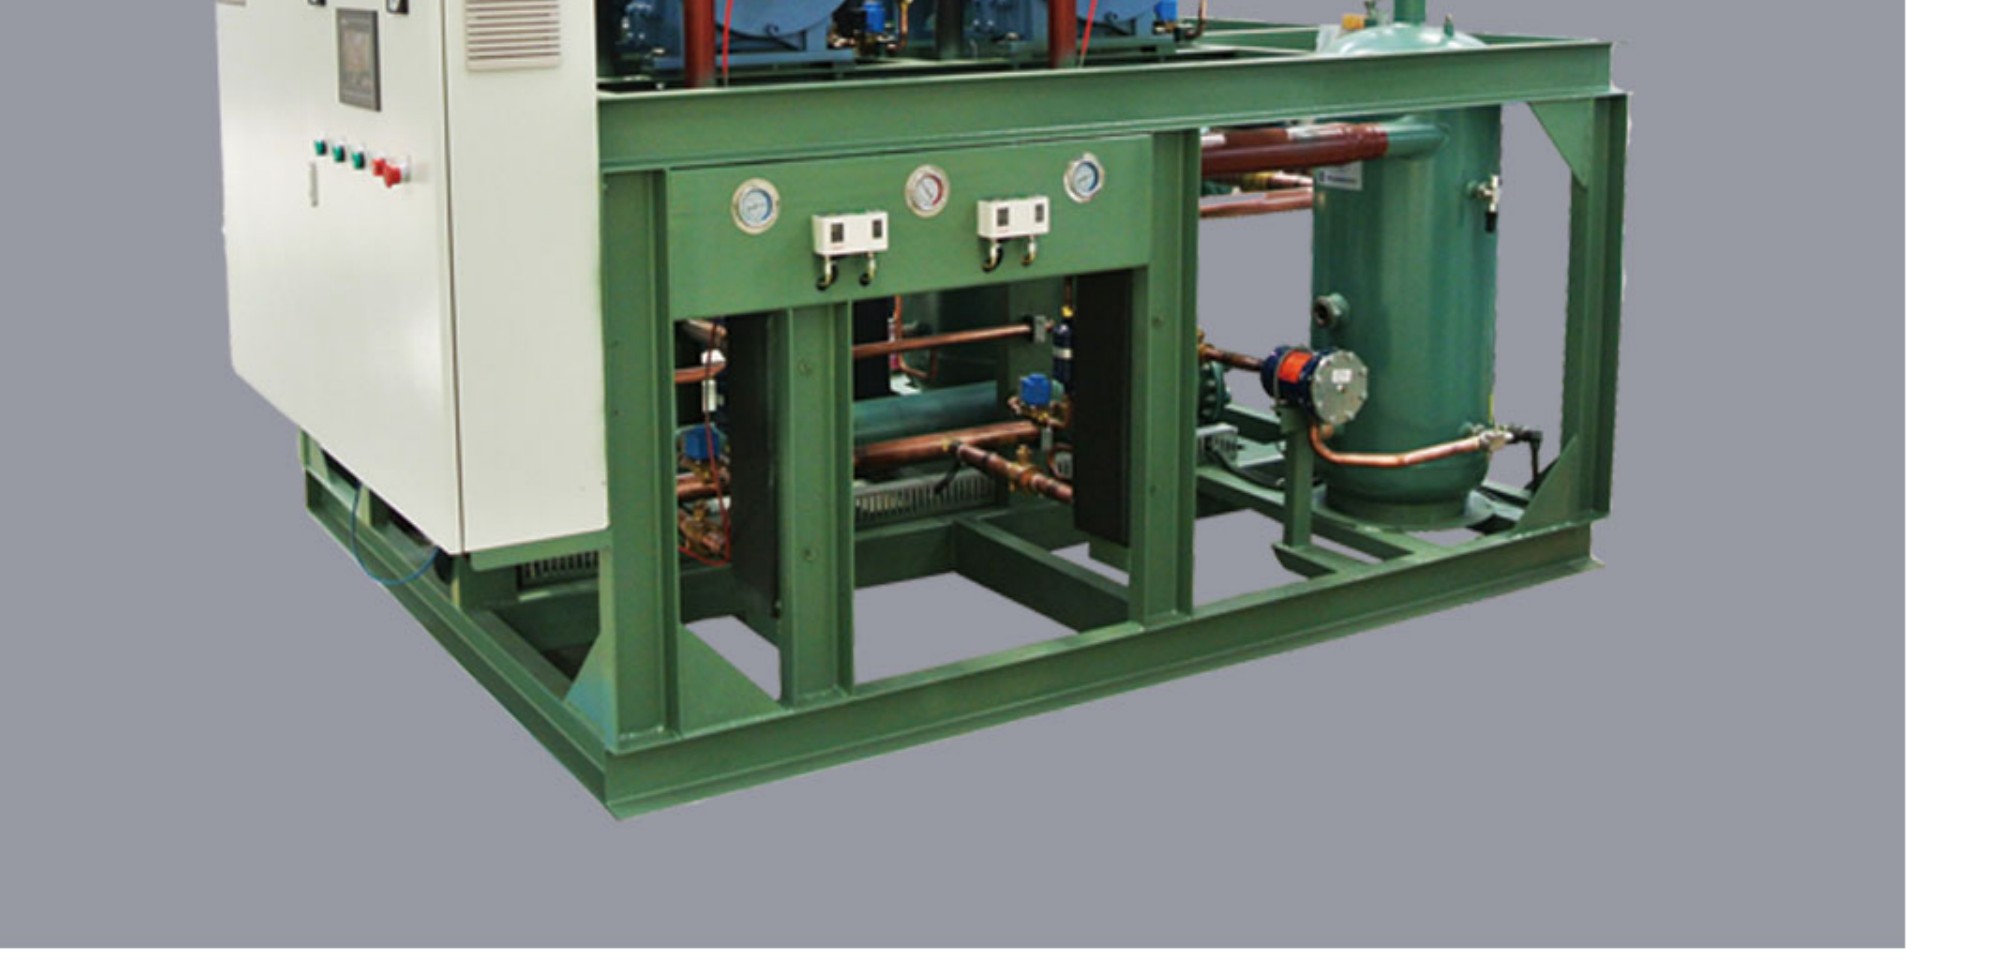
Unit selection directly affects later energy use and reliability. Medium projects commonly use reciprocating units, while large logistics warehouses favor screw units; see the refrigeration unit category. For medium/high-temperature scenarios see the medium/high-temperature monoblock, and for low-temperature high-air-volume scenarios see the air-cooled screw unit.
6. Electrical Wiring and System Commissioning
The control cabinet integrates compressor protection, phase-sequence protection, overload protection, defrost control and temperature recording. Sensors are placed near the indoor return-air outlet and away from direct airflow. Commissioning starts with a no-load run, then gradually pulls down to design temperature while recording the pull-down curve and defrost cycles.
During commissioning, watch whether high-side pressure is stable, whether the drain pan drains properly after defrost, and whether indoor temperature uniformity stays within ±1°C.
Common Construction Problems and How to Avoid Them
Three common problems deserve attention: first, copper pipe wall penetrations left unsealed and uninsulated, causing cold bridges and dripping; second, electrical cables laid in the same duct as copper pipes, with insulation degrading under prolonged low temperature; third, defrost drain pipes without heating or water seals, blocking with ice and leaking. These are invisible at handover but surface after a winter or two of operation.
Another easily overlooked step is finished-product protection. After panels are assembled, equipment hoisting and electrical work continue; workers stepping on ceiling panels or tools striking walls can cause hidden damage. Lay temporary protective mats after assembly and do a full inspection before acceptance.
7. Final Acceptance and Handover Training
After seven days of continuous operation without anomalies, acceptance begins. Owners should receive as-built drawings, equipment lists, trial-run records and operation manuals, plus on-site training: which parameters to monitor, how to trigger defrost manually, and how to reset alarms.
Different room types differ in construction details; controlled-atmosphere rooms additionally require airtightness tests and gas piping, see the controlled-atmosphere room and CA vs. fresh-keeping rooms. Blast freezers need high-air-volume evaporators and rapid roll-up doors; see the blast freezer.
FAQ
How long does it take to build a 100m² cold room?
For a modular room, from site entry to final acceptance typically takes 25–45 days. Civil works and flooring account for about 10–15 days, panel assembly 3–7 days, units and piping 5–10 days, electrical and commissioning 3–5 days, and trial running around 7 days. Timelines shift with insulated floors or double-shift work.
What site preparations must owners complete before construction?
Complete site access (water, power, level ground), bring power to the designated point near the room, confirm the footprint and door orientation, clear construction debris, and coordinate vertical lifting access. For built-in rooms, finish floor pouring and the damp-proof layer in advance and allow concrete to cure naturally.
What should owners watch during panel assembly?
Check whether eccentric hooks at wall/corner joints are fully engaged, whether seams are sealed, whether thermal breaks are installed at floor-wall junctions, and the verticality of doors and fit of sealing strips. After assembly, run a leak and airflow test to prevent later heat leakage. Poor sealing is a common cause of high operating energy use.
Why are evacuation and pressure holding needed after unit placement?
Welding leaves air and moisture in the pipes; if not removed, operation causes ice blockage, acidic oil and compressor damage. Standard practice is to hold nitrogen pressure for 24 hours with no pressure drop, then evacuate to the specified negative pressure and hold for several hours before charging refrigerant and compressor oil per the nameplate.
What documents should owners receive at final acceptance?
As-built drawings, equipment nameplate lists and certificates, piping routing diagrams, electrical schematics, trial-run records, temperature curves, operation and maintenance manuals, and warranty agreements. Trial-run records should cover full-load pull-down, recovery and seven days of continuous operation as a basis for later maintenance.
What needs special attention in the first three months of use?
The first three months are a running-in period; record room temperature, defrost cycles and current weekly, and check door seals, air cooler frosting and drain heating. Avoid loading a large batch at once, which spikes temperature. On unusual noise or high-pressure alarms, stop the machine and contact after-sales rather than forcing it to run.
Frequently Asked Questions
How long does it take to build a 100m² cold room?
For a modular room, from site entry to final acceptance typically takes 25–45 days. Civil works and flooring account for about 10–15 days, panel assembly 3–7 days, units and piping 5–10 days, electrical and commissioning 3–5 days, and trial running around 7 days. Timelines shift with insulated floors or double-shift work.
What site preparations must owners complete before construction?
Complete site access (water, power, level ground), bring power to the designated point near the room, confirm the footprint and door orientation, clear construction debris, and coordinate vertical lifting access. For built-in rooms, finish floor pouring and the damp-proof layer in advance and allow concrete to cure naturally.
What should owners watch during panel assembly?
Check whether eccentric hooks at wall/corner joints are fully engaged, whether seams are sealed, whether thermal breaks are installed at floor-wall junctions, and the verticality of doors and fit of sealing strips. After assembly, run a leak and airflow test to prevent later heat leakage. Poor sealing is a common cause of high operating energy use.
Why are evacuation and pressure holding needed after unit placement?
Welding leaves air and moisture in the pipes; if not removed, operation causes ice blockage, acidic oil and compressor damage. Standard practice is to hold nitrogen pressure for 24 hours with no pressure drop, then evacuate to the specified negative pressure and hold for several hours before charging refrigerant and compressor oil per the nameplate.
What documents should owners receive at final acceptance?
As-built drawings, equipment nameplate lists and certificates, piping routing diagrams, electrical schematics, trial-run records, temperature curves, operation and maintenance manuals, and warranty agreements. Trial-run records should cover full-load pull-down, recovery and seven days of continuous operation as a basis for later maintenance.
What needs special attention in the first three months of use?
The first three months are a running-in period; record room temperature, defrost cycles and current weekly, and check door seals, air cooler frosting and drain heating. Avoid loading a large batch at once, which spikes temperature. On unusual noise or high-pressure alarms, stop the machine and contact after-sales rather than forcing it to run.